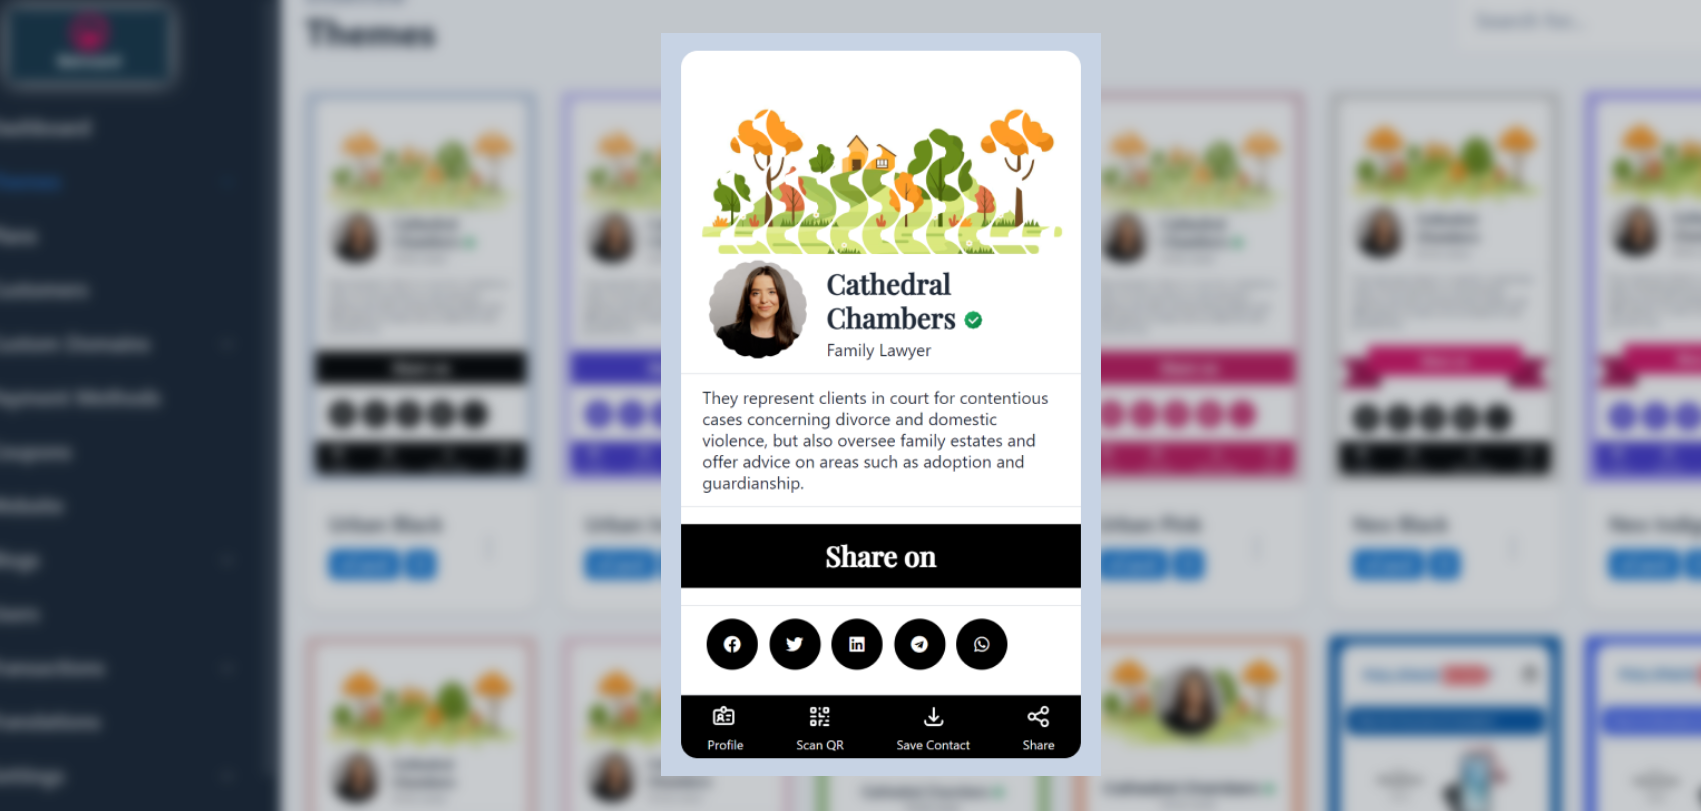

How do i create my own vcard

What is a vCard?
Signup at betvcard.com for your free digital business cards.
https://www.youtube.com/watch?v=J8T7mGEd6rM
A **vCard** (short for Virtual Card) is an electronic file format for sharing contact information, which can include your name, phone number, email address, physical address, and even your profile picture. vCards are typically saved with the `.vcf` extension and are compatible with most email clients, address books, and contact management systems.
Why Should You Create a vCard?
Creating your own vCard can be a great way to:
1. **Share Contact Details Easily:** Instead of typing out your contact info manually each time, you can share your vCard with a simple file transfer.
2. **Boost Professionalism:** For business professionals, having a digital business card can help convey professionalism and make it easier to connect with potential clients or collaborators.
3. **Integration with Other Systems:** vCards can be imported into email clients like Outlook or Gmail and integrated into contact management systems.
Now, let’s walk through the process of creating your own vCard.
Step 1: Choose the Right Tool
To create a vCard, you can either use an online generator, a contact management app, or manually create one using a text editor. Below are a few options:
- **Online vCard Generators**: Websites like [vCard Maker](https://vcardmaker.com) or [qr-code-generator.com](https://www.qr-code-generator.com) allow you to create vCards with ease, offering a simple form-based interface where you input your details.
- **Contact Management Apps**: Popular apps like Google Contacts and Apple Contacts allow you to export your contact information as a vCard file.
- **Text Editor**: If you’re tech-savvy, you can create a vCard manually by writing it in plain text using the vCard format (we’ll show you an example below).
Step 2: Add Your Personal or Business Information
Whether you’re creating a personal vCard or a business vCard, you’ll need to provide the following details:
1. **Full Name**: This is the primary identifier for your vCard.
2. **Phone Number(s)**: Include your mobile, home, or office phone numbers.
3. **Email Address**: Your primary email address for contact.
4. **Physical Address**: Your work or home address, if you wish to include this.
5. **Website or Social Media Links**: If you have a personal or business website or profiles on social media, include them in your vCard.
6. **Profile Picture**: A profile image is optional but can make your vCard more personal or professional.
Step 3: Organize the Information in vCard Format
A basic vCard follows a specific structure that includes the following lines:
```
BEGIN:VCARD
VERSION:3.0
FN:John Doe
TEL:+1234567890
EMAIL:john.doe@example.com
ADR:;;123 Main St;Anytown;NY;12345;USA
URL:https://www.johndoe.com
PHOTO;ENCODING=BASE64;TYPE=JPEG:/9j/4AAQSkZJRgABAQEAAA...
END:VCARD
```
Explanation of the Fields:
- **BEGIN:VCARD** and **END:VCARD**: These mark the start and end of the vCard.
- **VERSION**: The vCard format version (3.0 is most common).
- **FN**: Full name.
- **TEL**: Phone number.
- **EMAIL**: Email address.
- **ADR**: Address. You can split the address into multiple components (street, city, state, postal code, and country).
- **URL**: Your website or social media profile.
- **PHOTO**: If you want to include a photo, it’s embedded in base64 encoding (this is optional).
Step 4: Save Your vCard
After entering all the required information, save your file with a `.vcf` extension. If you’re using an online generator or an app, they will automatically save the file in the correct format.
Step 5: Share Your vCard
Once you’ve created your vCard, you can share it in various ways:
1. **Email**: Attach the vCard file to your email. Most email clients, like Gmail and Outlook, automatically recognize `.vcf` files and allow recipients to save the contact information with a click.
2. **QR Code**: You can generate a QR code for your vCard using online tools, making it easy for others to scan and save your contact details.
3. **Website or Social Media**: Upload the vCard to your website or include a link to it in your social media profiles.
Best Practices for vCard Creation
To make sure your vCard is professional and effective, here are some additional tips:
- **Keep It Updated**: Always ensure your vCard includes your most up-to-date contact information.
- **Add a Professional Photo**: If you’re using a vCard for business purposes, consider including a professional profile photo.
- **Customize for Different Purposes**: You can create multiple vCards tailored to specific needs, such as one for personal contacts and one for business interactions.
Conclusion
Creating your own vCard is a simple yet powerful way to share your contact details with others in a structured and professional format. Whether for personal or business use, a vCard makes networking easier and more efficient. By following the steps above, you can easily create and share your vCard with others, helping to streamline your communication and establish stronger connections.
Signup at betvcard.com for your free digital business cards.


